


Well, today I took some photos so I could share how I made them, so you can too :)
I used/You will need:

Heat Gun.
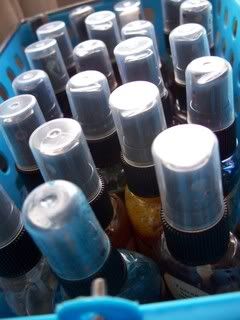
Glimmer Mist, how many and what colours is up to you.
Embossing powder, I used clear and turquoise but you will need clear.
Shape to trace, I used a Jenni Bowlin chipboard butterfly.
Pen.
Scrap of corrugated cardboard, but you can use any paper.
2 scrap pieces of paper. One for the glimmer mist and the other for the excess embossing powder.
First start by tracing the shape onto the cardboard with your pen. You could use a pencil but I like that effect the pen has at the end, ie that you can see it through some of the ink.
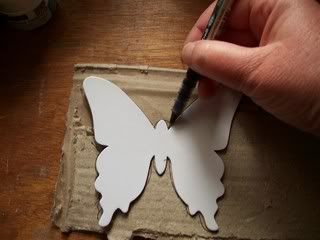
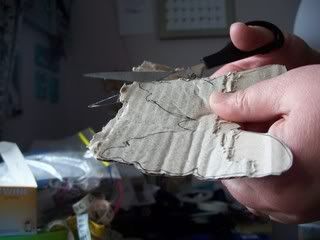
Then cut out the shape. Don't worry about it being perfect or along the line... it all adds to the effect ;)
Making sure you place a piece of scrap paper under the cardboard select the lightest colour from the glimmer mist you picked to use. Then spray over the cardboard where you want the ink to go.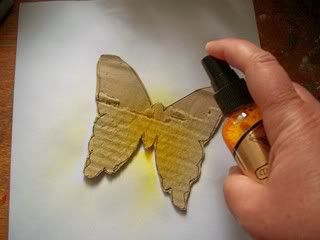
Dump on some of the embossing powder over the inked parts of the cardboard. I used this amount and this is all I used for the whole project.

Shake off the excess, onto the other scrap piece of paper, this will be used so don't worry about waste :)

Then using your heat gun melt the powder till it becomes shiny.
Repeat the process with the next coloured glimmer mist.

Embossing each layer/colour as you go.
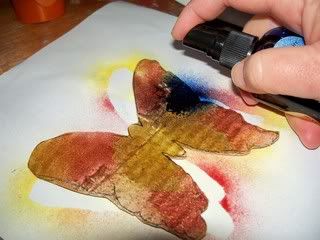
Don't worry when there are 'balls' of the glimmer mist. You can blow them with your heat gun to add effect.
I also dabbed the end of the glimmer mist tube on to the cardboard to add some dots

and also used some excess ink to dab the edges of the cardboard.
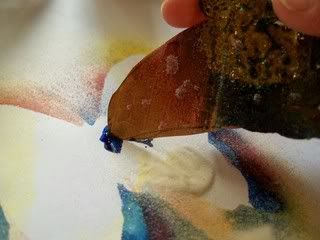
Just keep going through the process until you are happy with the result. I also added some turquoise glimmer mist. Please remember that the pwder does get hot, it can 'pop' so please be careful. Also when it is hot you can dab it into the embossing powder, the heat will allow it to grab so you can add the powder to the cardboard without adding more ink.
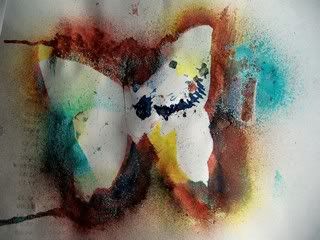
Here is my finished butterfly from today :)


And the scrap piece of paper won't go to waste either. I used my heat gun on that also and will use this one something else too

Oh Glimmer Mist! How I love thee ;)
Oh Sharmaine, this is stunning and THANK YOU so much for the tutorial. I want to go play with one now. I will have to search out the butterfly and add a few more Shimmer Mist to my collection!!! Have a wonderful weekend and I just adore your talent!!!!
ReplyDeleteWOW WOW WOW!!!! Sharmaine this is sooooooooooooo cool...thanks for showing this! :):):):):):):):):):)
ReplyDeleteoh, how creative you are! love that you're not letting the scrap go to waste either! Have a great weekend! :)
ReplyDeletevery clever project!
ReplyDeleteThanks for sharing. Glimmer mist rocks for sure.
Mad skillz you have Sharmaine !
ReplyDeletewhat an artiste you are ! thanks for the inspo - ! maybe I can try these even with my 5 bottles of mist ! lol
*gasp* thanks for sharing.. I totally have to try this!
ReplyDeleteHello I love Glimmer Mist too!! Thank you for the how to post ~:O)
ReplyDelete