She requested
So
She
Did
Just
That
:)

And we all know that pink sunglasses makes bubble blowing so much sweeter, right?
Well that's what I was lead to believe lol
And I think it might be right, what do you think??!!

She tried REALLY hard to blow bubbles onto the camera, and succeeded a few times too,

cheeky blighter :)

and while she amused herself with bubbles I sat in the sunshine, watching her and

fiddled with some of these things that I had dragged outside

to make this
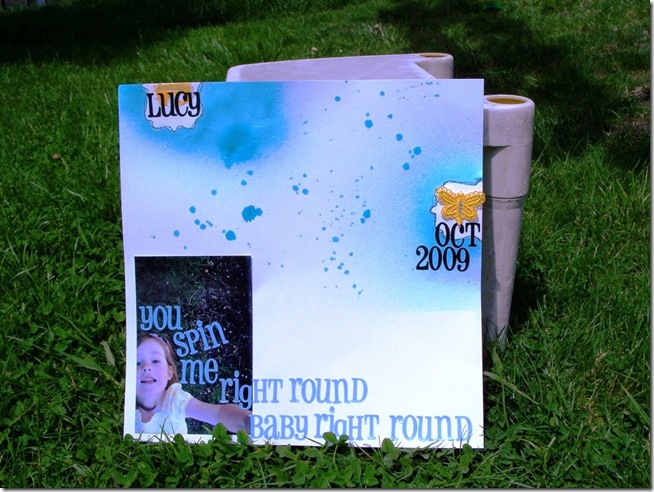
for the 5th challenge that Cheryl set, 5. create a LO using song lyrics as title
From the moment I saw this photo this song was in my head so I was grateful of the prompt to create :)

I dyed another butterfly with Glimmer Mist, as I showed here
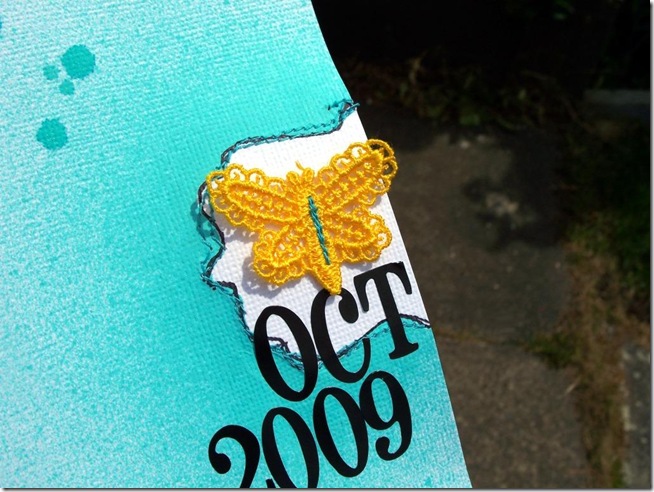
The yellow under this is from a paper bag, from the chemist, that one lot of Elizabeth’s medicine came in

Yep grateful for the prompt to create :)
Wondered about adding some journaling
But have left it like this for now :)

As promised yesterday, the rundown on how I put together the mini album I made for Love Scrappin’
One of the things I loved about making this mini was that it didn’t use lots of pattern paper
I started with a 6”x12” piece and only used about half of this
For this mini I used 5 coasters and 4 photos
If you don’t have coasters you could use thin cardboard, but not cardstock as it will bend, and cut it into circles, these coasters have a diameter of about 2.75”

Starting with one of the coasters, put adhesive, in my case double sided tape, onto one side of the coaster

as you can see I didn’t cover all the coaster with tape, it’s not overly necessary because the edges become more sealed later with the paint
I then cut around the coaster, leaving just a little paper over the edge, and DON’T throw out the scraps, I used them later
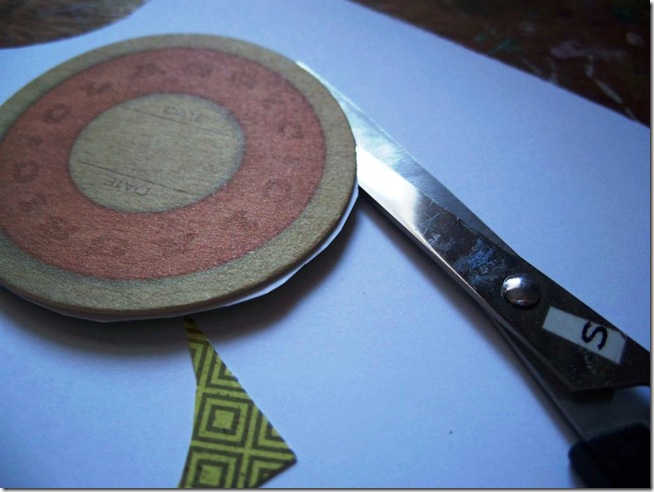
Take one of the coasters and cover the reverse side, this will be your cover coaster, the other coasters just cover one side with pattern paper and leave the other side for the photo
Take one of your photos, I used a 2.50”x3.25” size photo, and make sure you will still see the parts of the photo that you want once it has been cut, if not then you will need to change the photo to one that will fit onto the area

add adhesive to the uncovered side of the coaster

and then add and cut the photo, again making sure you don’t cut right to the edge of the coaster but leave just a little around the outside, this will be taken off later :)
Then using the scraps, fill in gaps from the photo to the edge of the coaster, I place the straight cut side of the scraps against the photo so there was less cutting

then using a emery board, Dave got me this one for free from a toy shop (meant for model making), or sand paper run around the coaster and sand back the paper to the coaster edge

Now it’s time to get messy
Place some paint on your finger and run it around the edge of the coaster
This is the time you can fill in any gaps that you might have, along the edge of your photo etc
You don’t have to use your finger, if you don’t like messy like me, you can use a foam brush, paint brush or whatever else works for you :)

Once you have done this with all the coasters, take the cover coaster and punch a hole where you would like the keychain to be attached
This then becomes your ‘template’
Use this coaster to see where the hole should go on your photo coasters, so that you don’t punch a hole through someone's head and each hole lines up with the others

I then used a strip of Kaiser Pearls
These come as a straight line, I took small sections of the line and gently adhered them onto the cover coaster to make a circle border

Putting it all together, the title, the key chain and some random coordinating ribbons

I then used the packaging, stitched 2 lengths of ribbon onto some scrap cardstock, added the title and taped it onto the top of the container

Easy, effective and makes an affordable gift :)
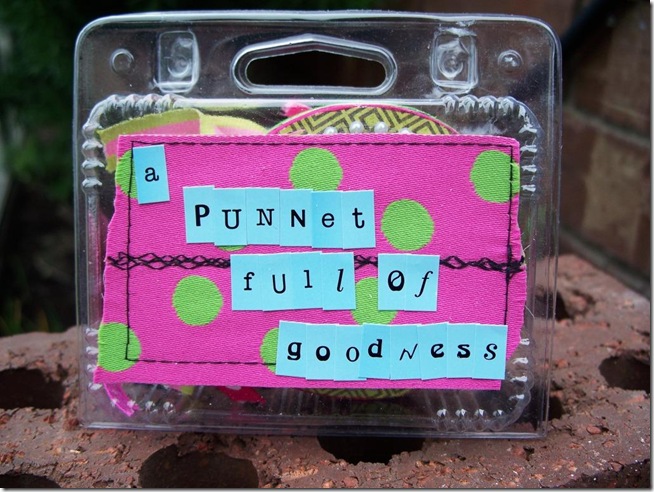
Hope that was helpful and inspires you to create
Will leave you with 2 more photos that made my LOVE list today :)

Can you see the bubble in this one, couldn’t have timed it better lol

Thanks for visiting :)
Pin It Now!